
Author: Steve Farrall

Steve has worked as a Business Analyst for more than 20 years in a wide variety of business areas from central government to financial services; moving from waterfall developments to agile based approaches.

Use Case or User Story

An interesting question!  Do we stick with use cases or switch to agile user stories as the best way to model, understand and deliver requirements?

The answer is to apply both techniques and together they work well to complement each other. In this approach, I view the use case as a business use case focused on business actions and processes; the user story is focused on the system requirements elaborating what is required of the system to support the business use case and supporting the agile sprint development process.


Use Cases


The objective of the use case in this context is to communicate the understanding of the requirement to the SMEs and stakeholders to ensure that the correct solution will be developed. It won’t be fool proof, but it should help steer the development in the right direction; until the first show and tell session, you can never be absolutely sure the requirement has been fully understood.

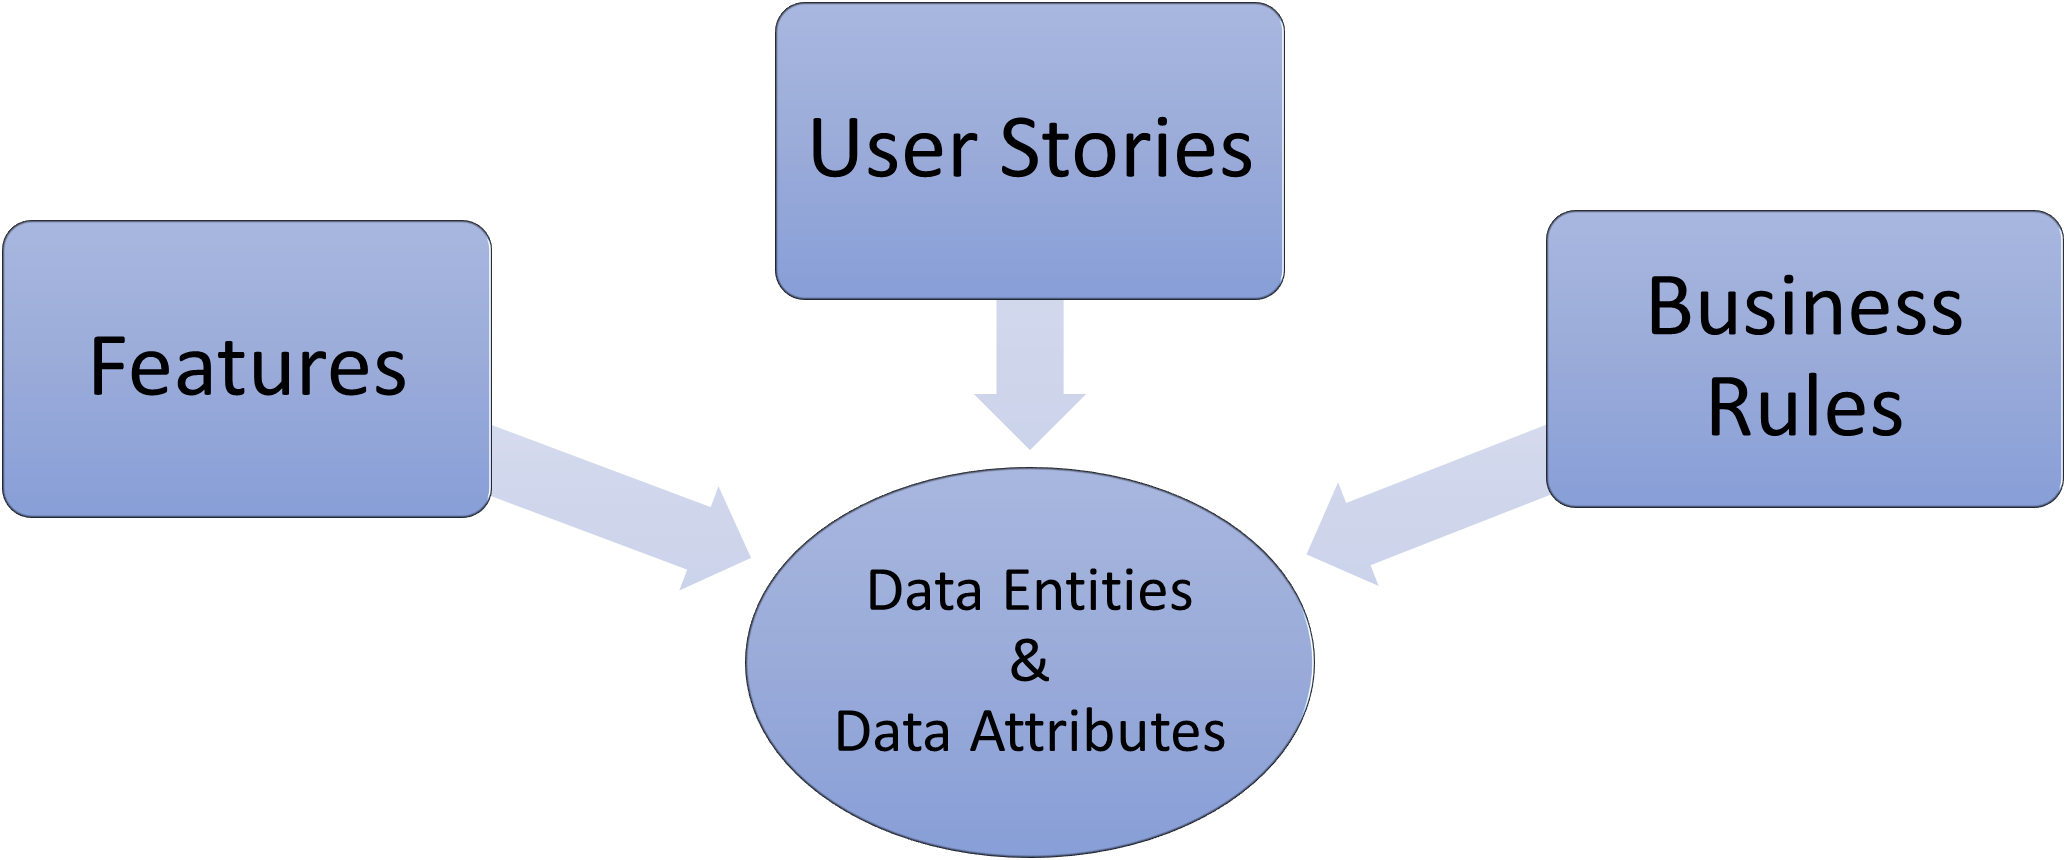
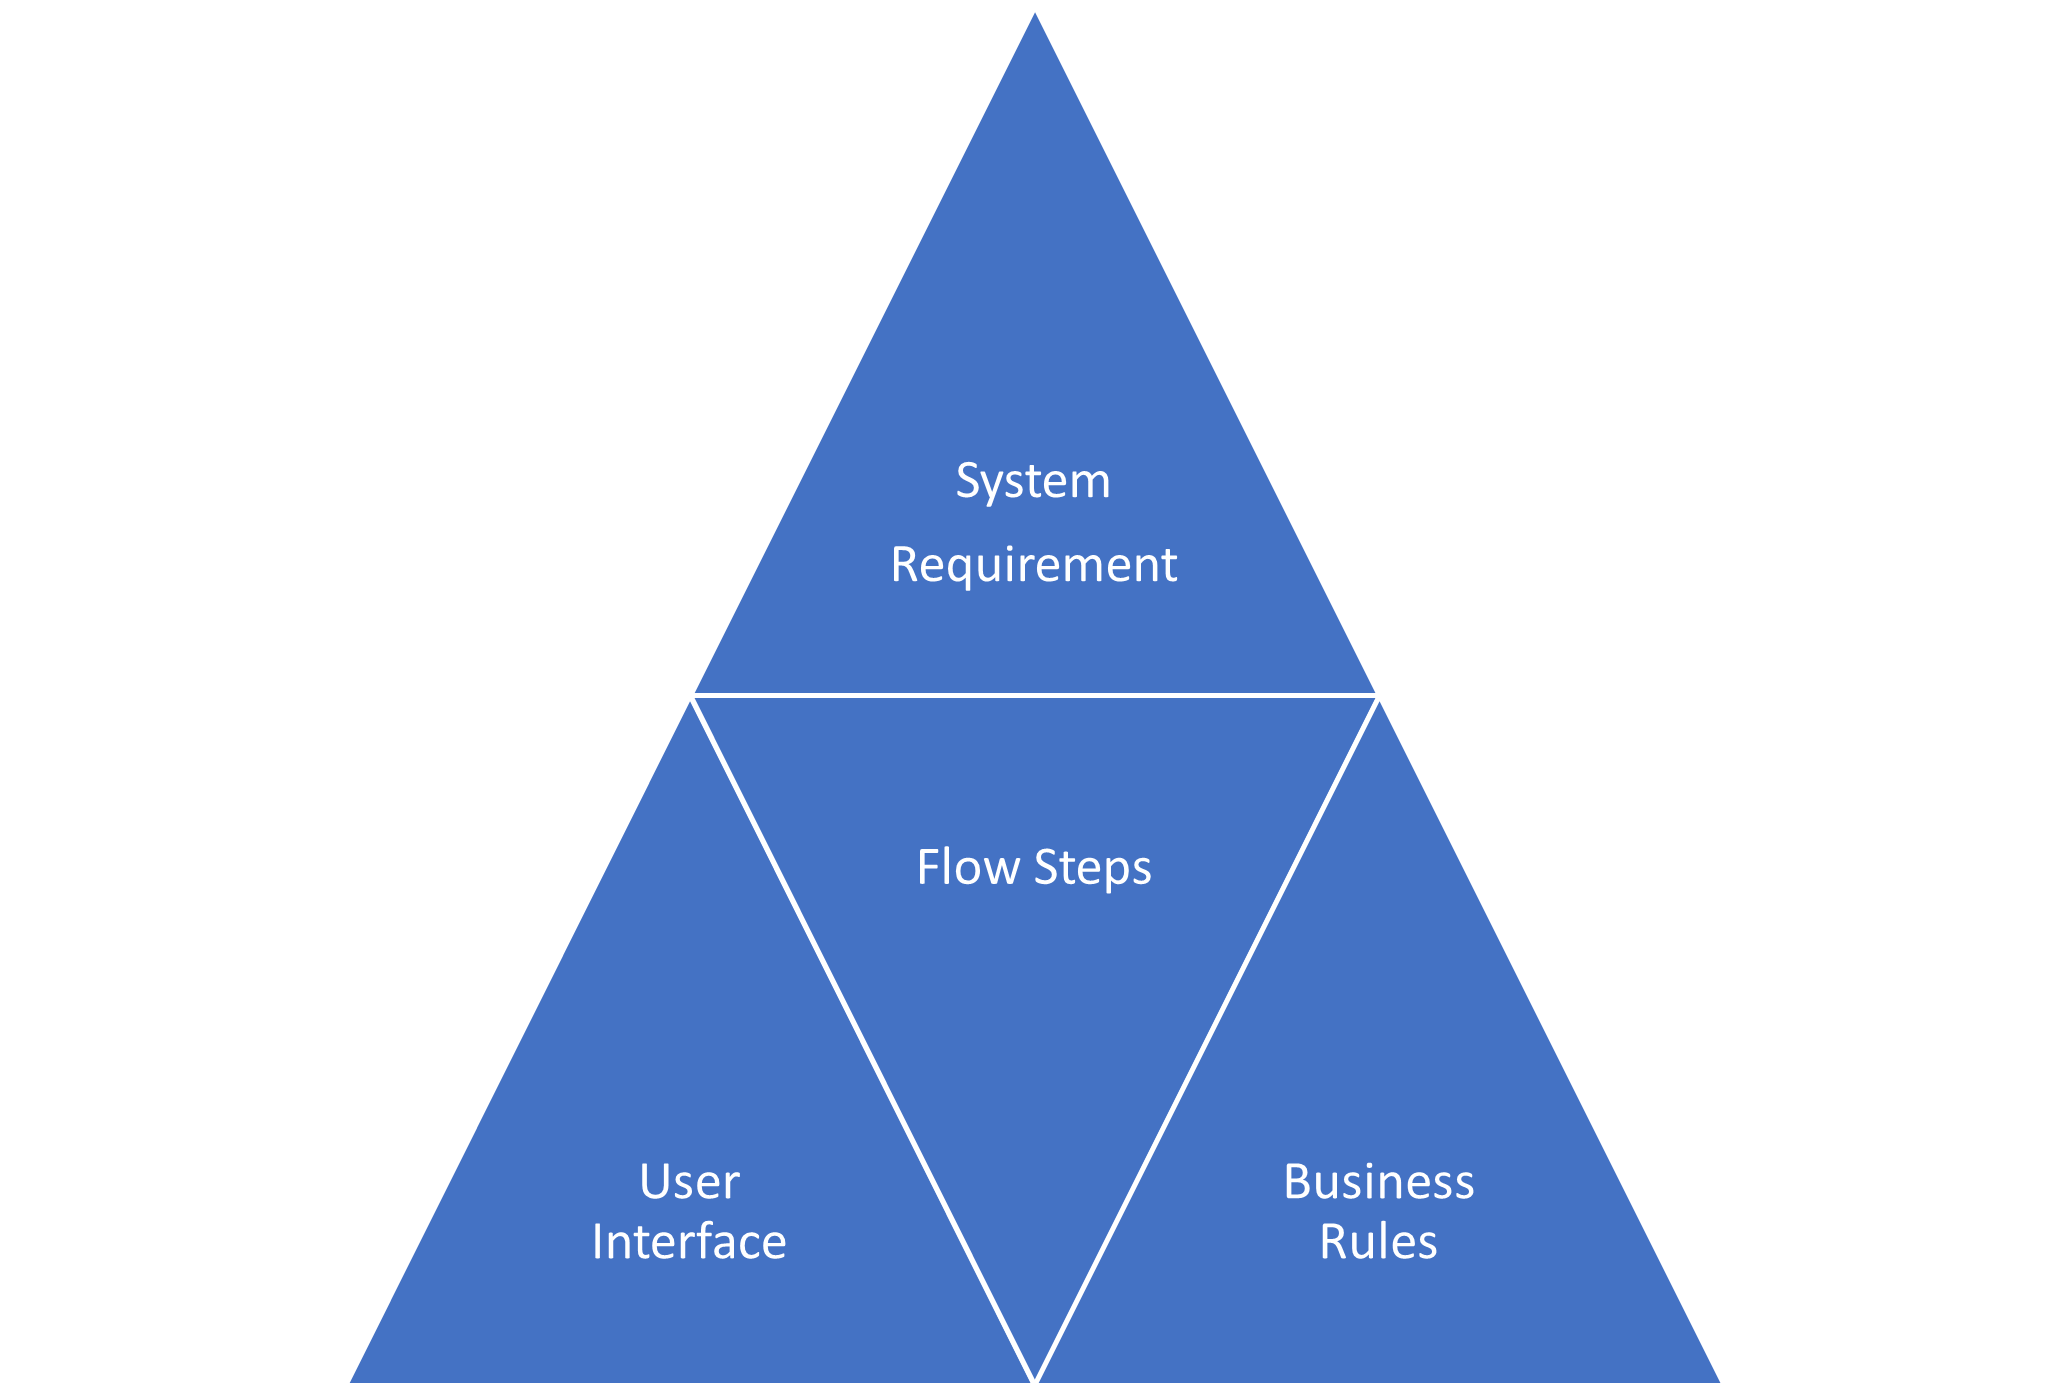
I would restrict the use case content to be only that essential to explain how the requirement will be delivered; alternate flows etc should be pushed into the use stories as far as possible. It may well be useful to expose some draft business rules for discussion as part of the use case but keep in mind the rules will need to be included and implemented via the user stories.

The Tool

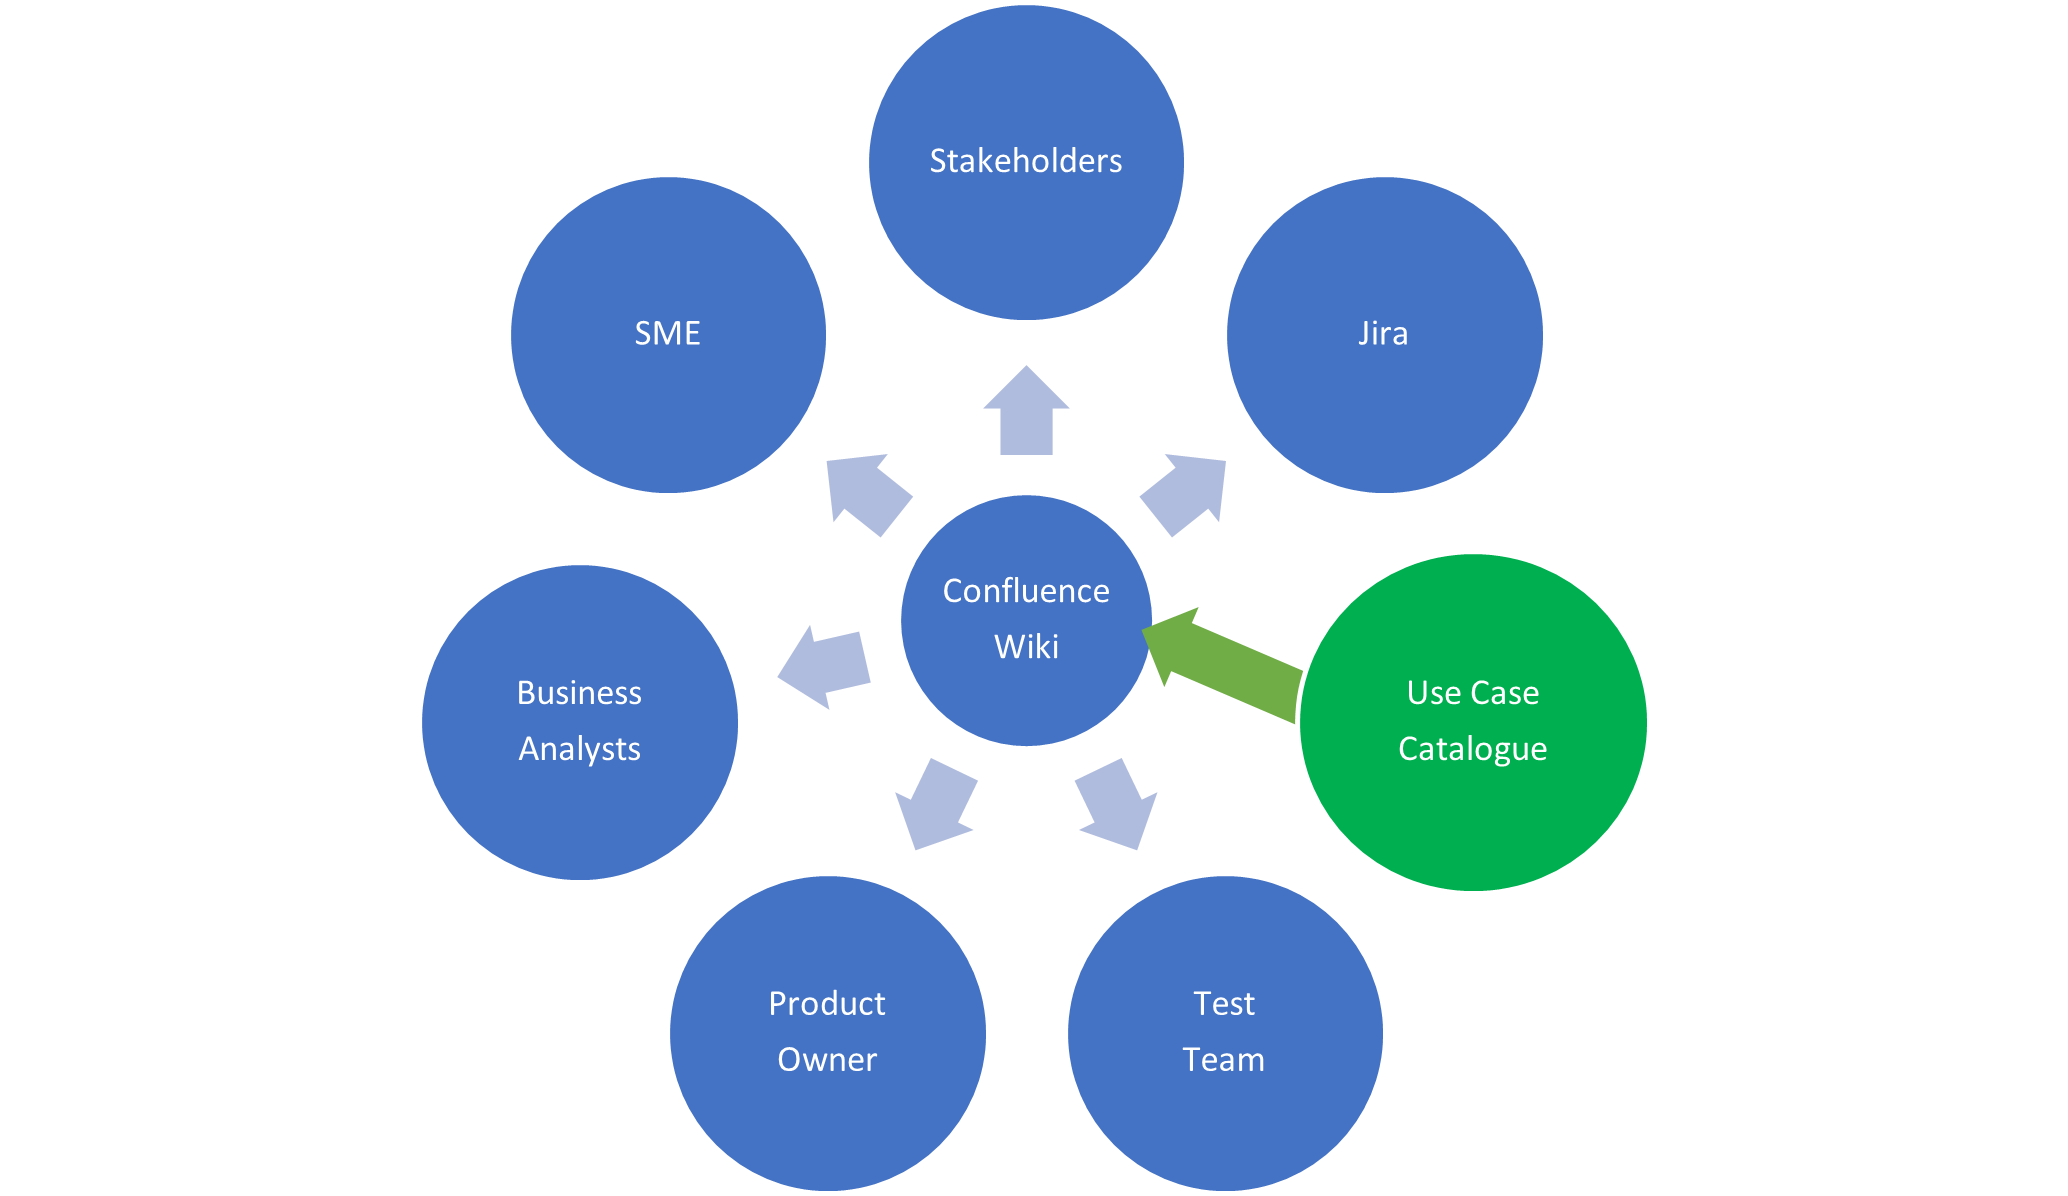
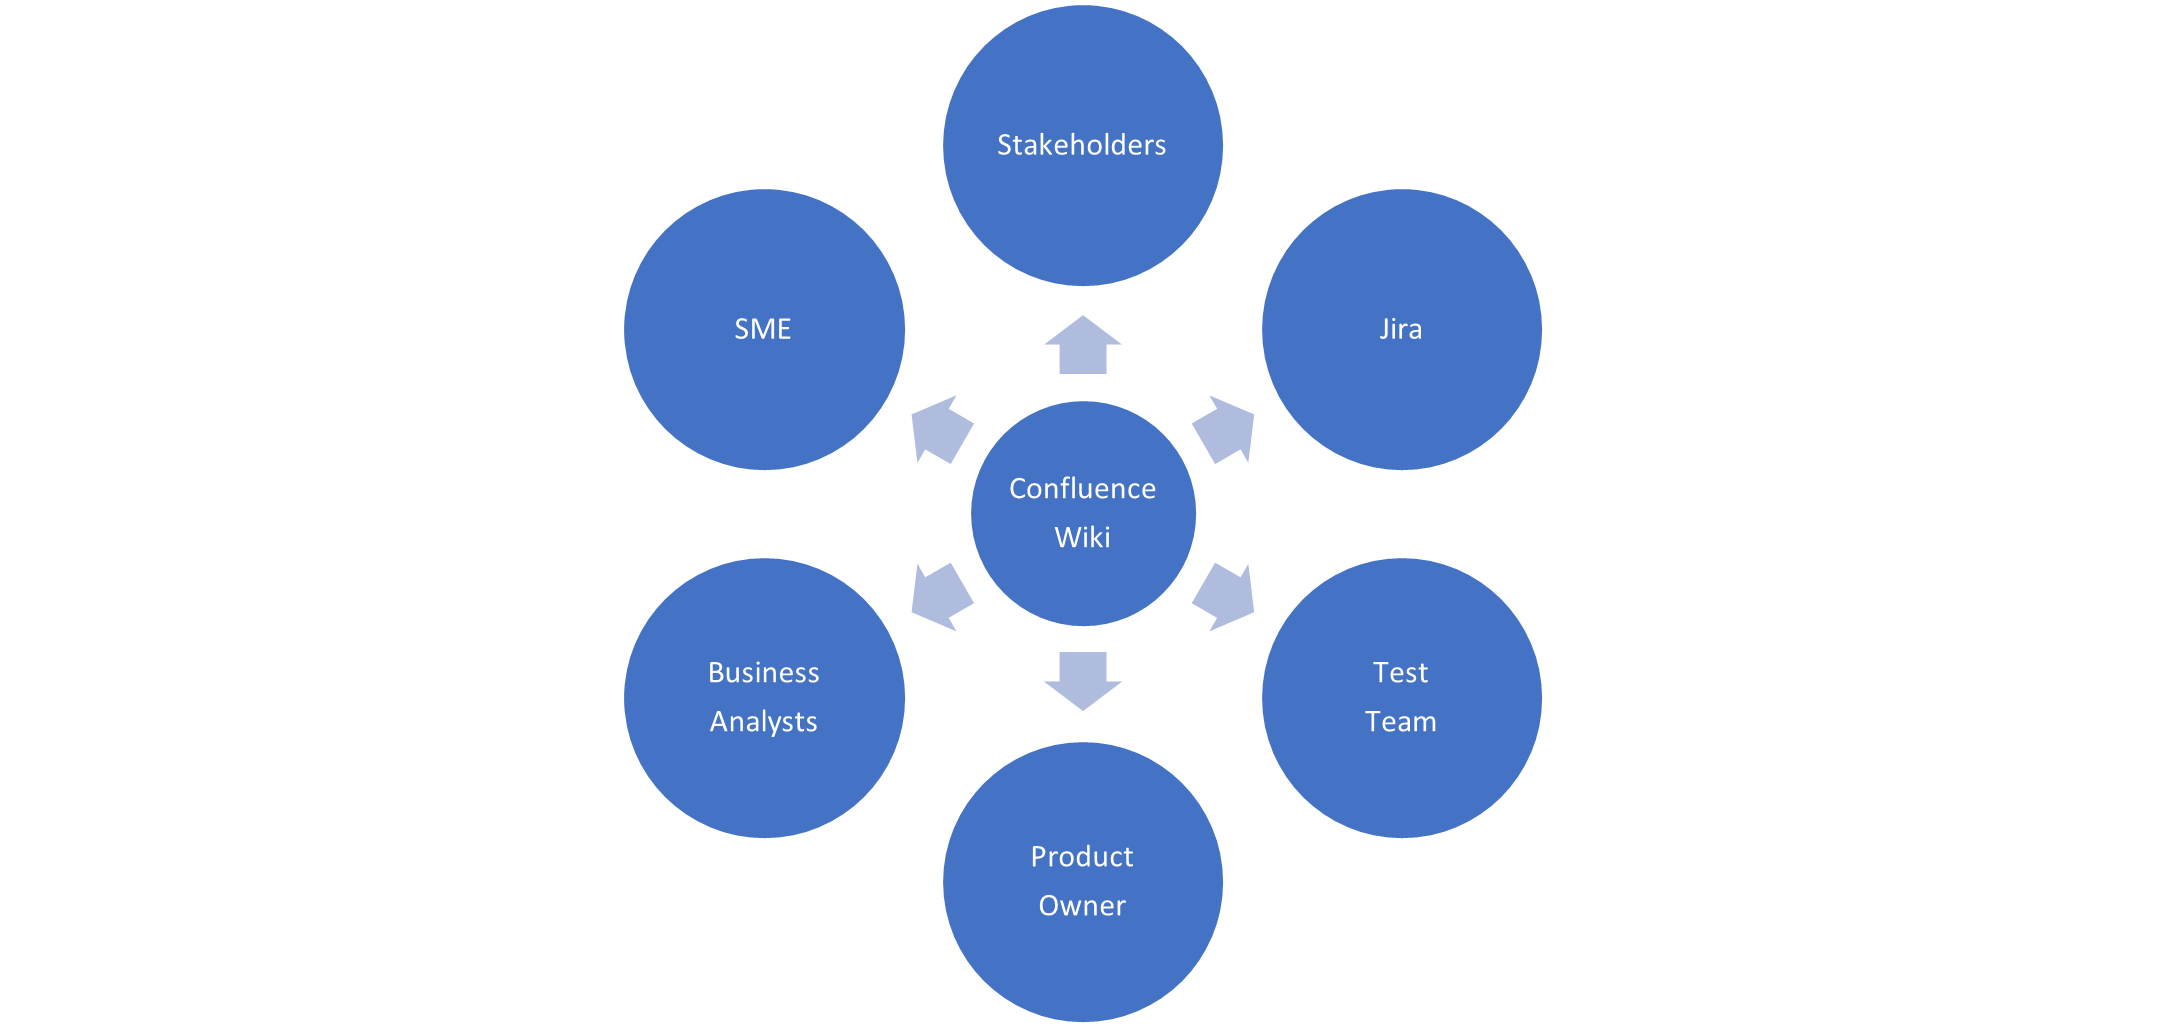
We had already setup a wiki using the Atlassian Confluence tool, the logical step was to extend the existing wiki and introduce a fairly simple template for our use case pages; different tools could be adopted, even PowerPoint would work. Using Confluence allowed existing content to be linked directly into our use case pages as needed; it also includes a presentation mode allowing page content to be used directly in a presentation and exported to PDF or Word format documents.

The use cases can then be used to present back to the SMEs and stakeholders to confirm the understanding of requirements and the validity of the proposed process.


Tip – Catalogue Use Cases

It is useful to have index of all the use cases that includes a status to show work in progress, which ones have been published and those reviewed with SMEs. We managed our use case catalogue within Confluence using custom decision pages to provide an index view of all the cases.


User Stories


The key differentiator with the story is that it targets a specific system requirement and product feature, explaining a feature to an SME is a valid activity but without the context of the overall process, it might be a hard sell. Typically, you will need to introduce some supporting product features which may not be immediately obvious to SMEs; hence combining the stories together into a coherent business process will help SMEs to understand the overall solution context.

User stories can be identified but not elaborated depending on the level of confidence in understanding for a given requirement and business process. It may be appropriate to propose a change based on the understanding prior to a workshop or it might be better to get feedback from the workshop and then work on the stories with the knowledge gained.

The objective is to gain confidence in the understanding of a requirement so that everything can proceed down the right track with a joined-up set of product features.

Tip – Catalogue User Stories

A template for developing user stories can be adopted, this is useful as a prompt for details which may be appropriate e.g., what’s the existing feature doing currently and what needs to be changed. We managed our use story catalogue within Confluence using custom decision pages to provide and index view.


Advertisement


Joined Up Thinking

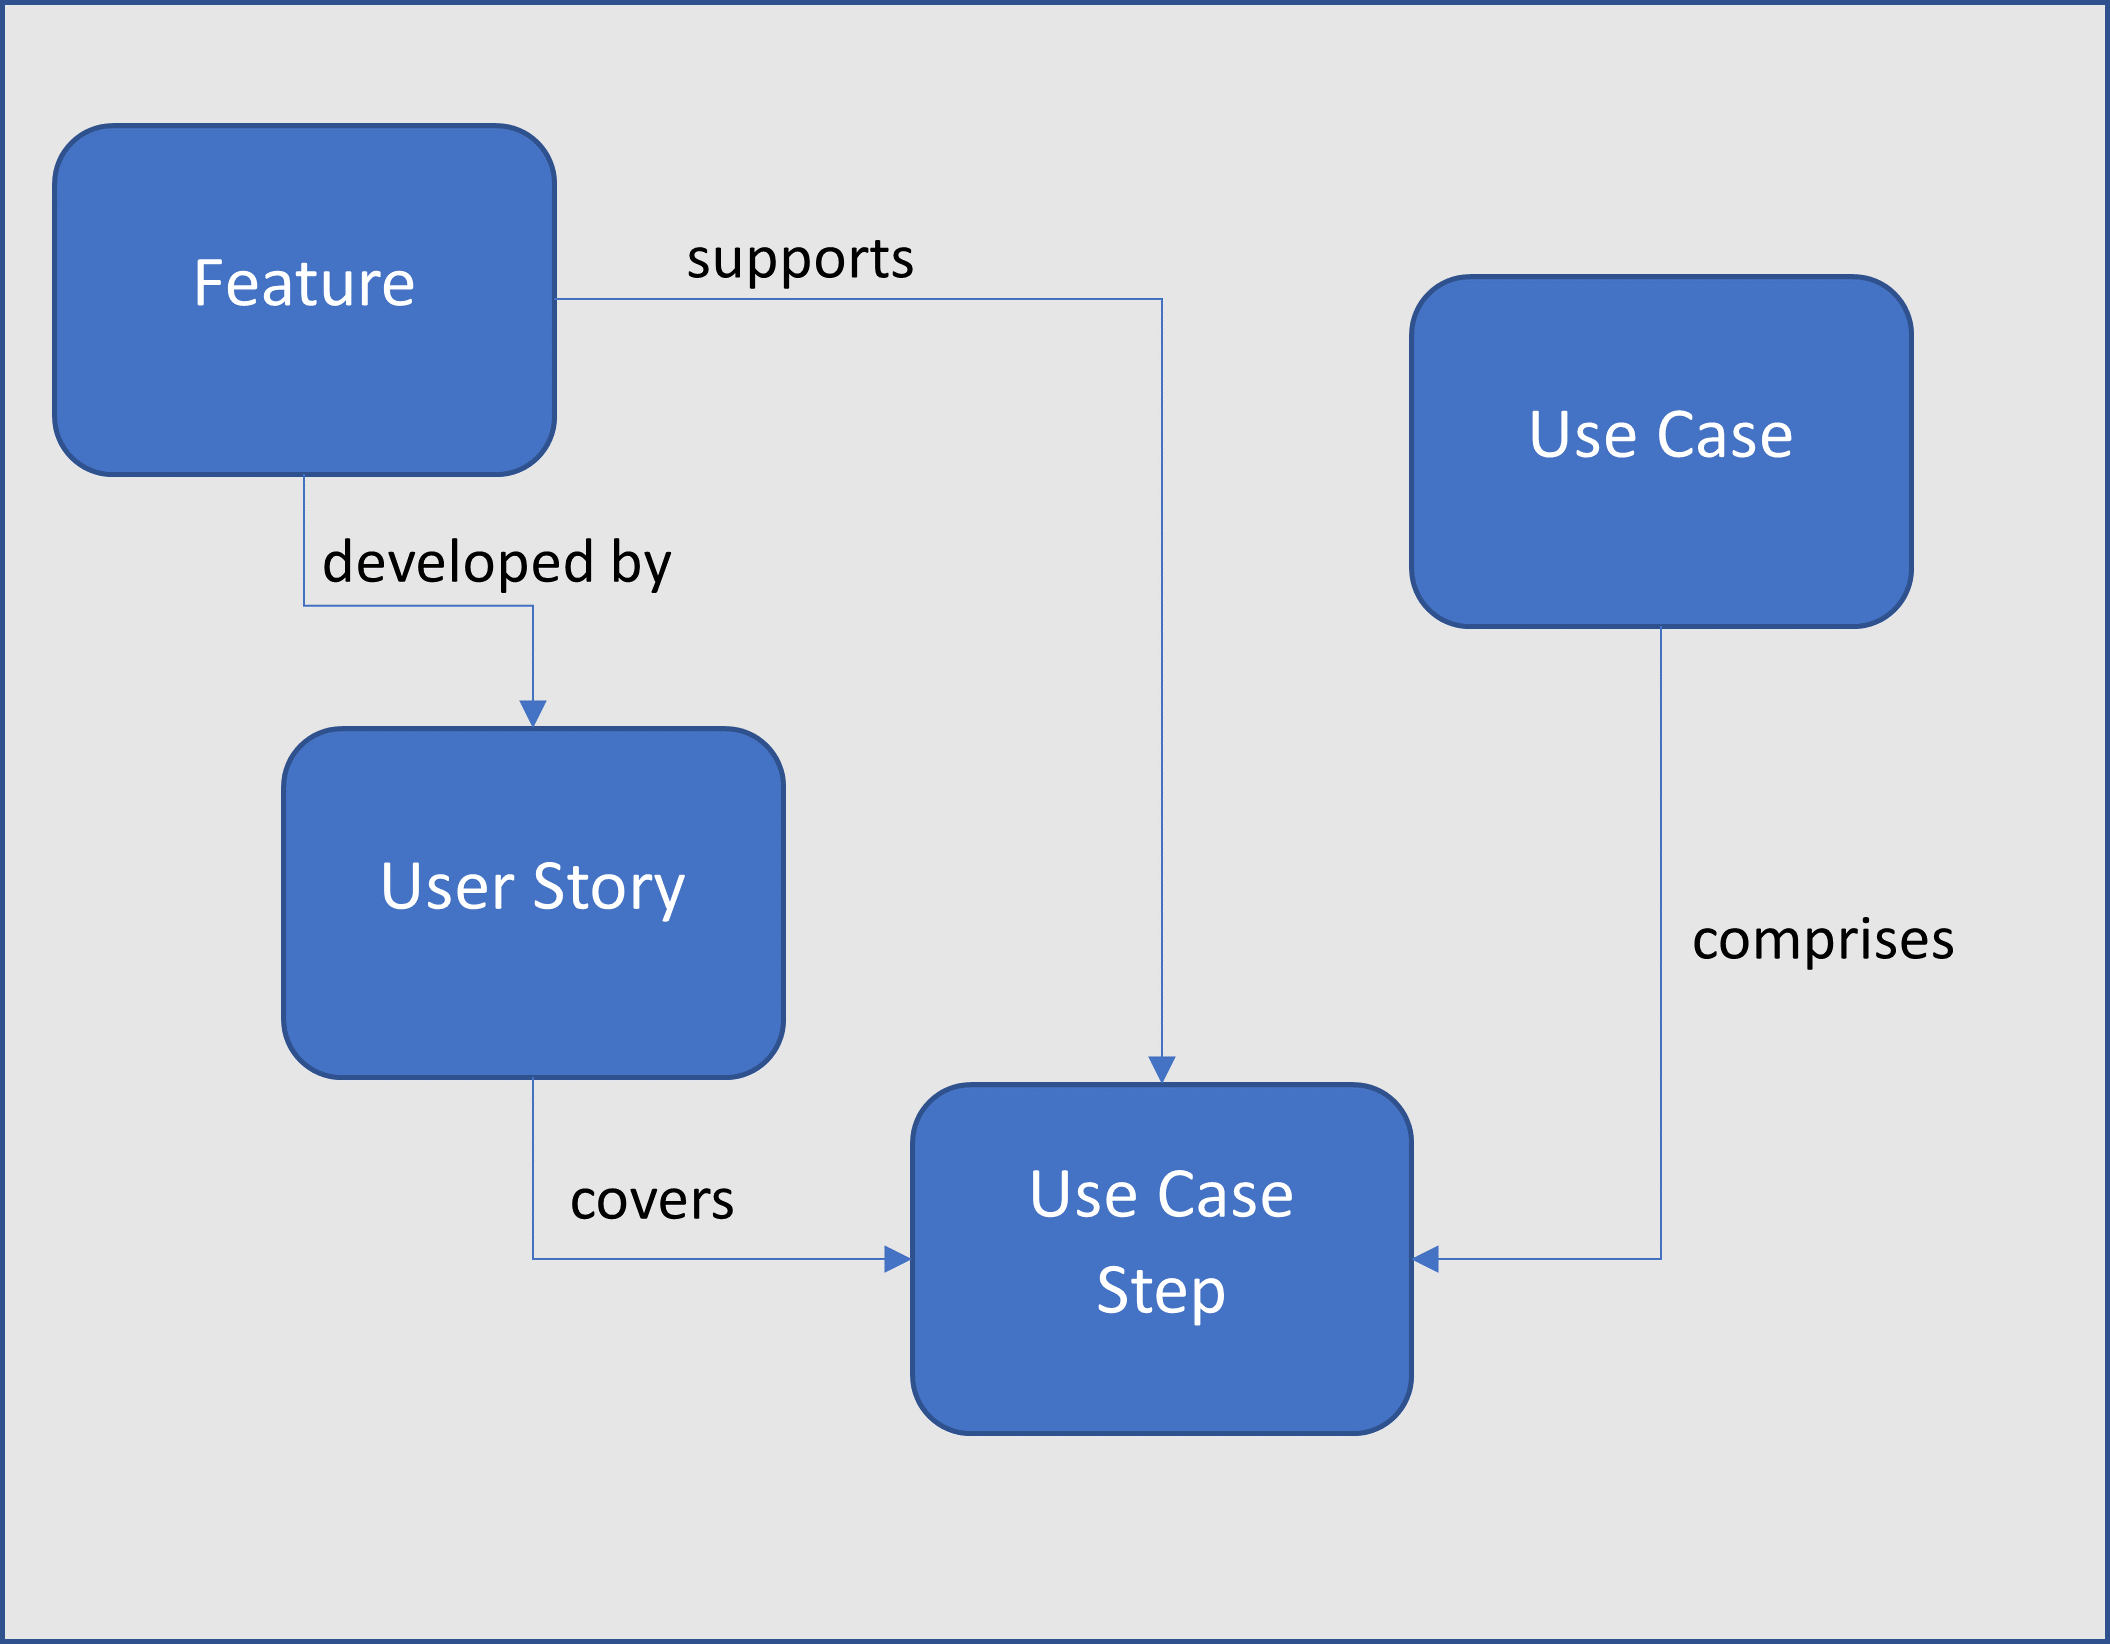
Use cases and user stories come together in the steps of a use case i.e., supporting the flow, whether it is worth elaborating main flows and alternate flows within a single business use case is debatable. The key objective is to keep the use case as simple as possible whilst demonstrating how the requirement will be met, so adding exception flows may cause confusion at this stage.

It is also possible that an existing feature will support a requirement without the need for a change story to be introduced; it is valid to include this feature in the use case as a step to demonstrate how this will work. For an existing feature, screen shots can be included and marked up with candidate changes; for a new feature then a wireframe mock-up may be included where a user interface is needed to support a step in the process.


Tip – Catalogue Use Cases

It will be useful to have index of all the use cases that includes a status to show which ones have been published and review with SMEs. We managed our use case catalogue within Confluence using custom decision pages to provide and index view.

Requirements and Use Cases

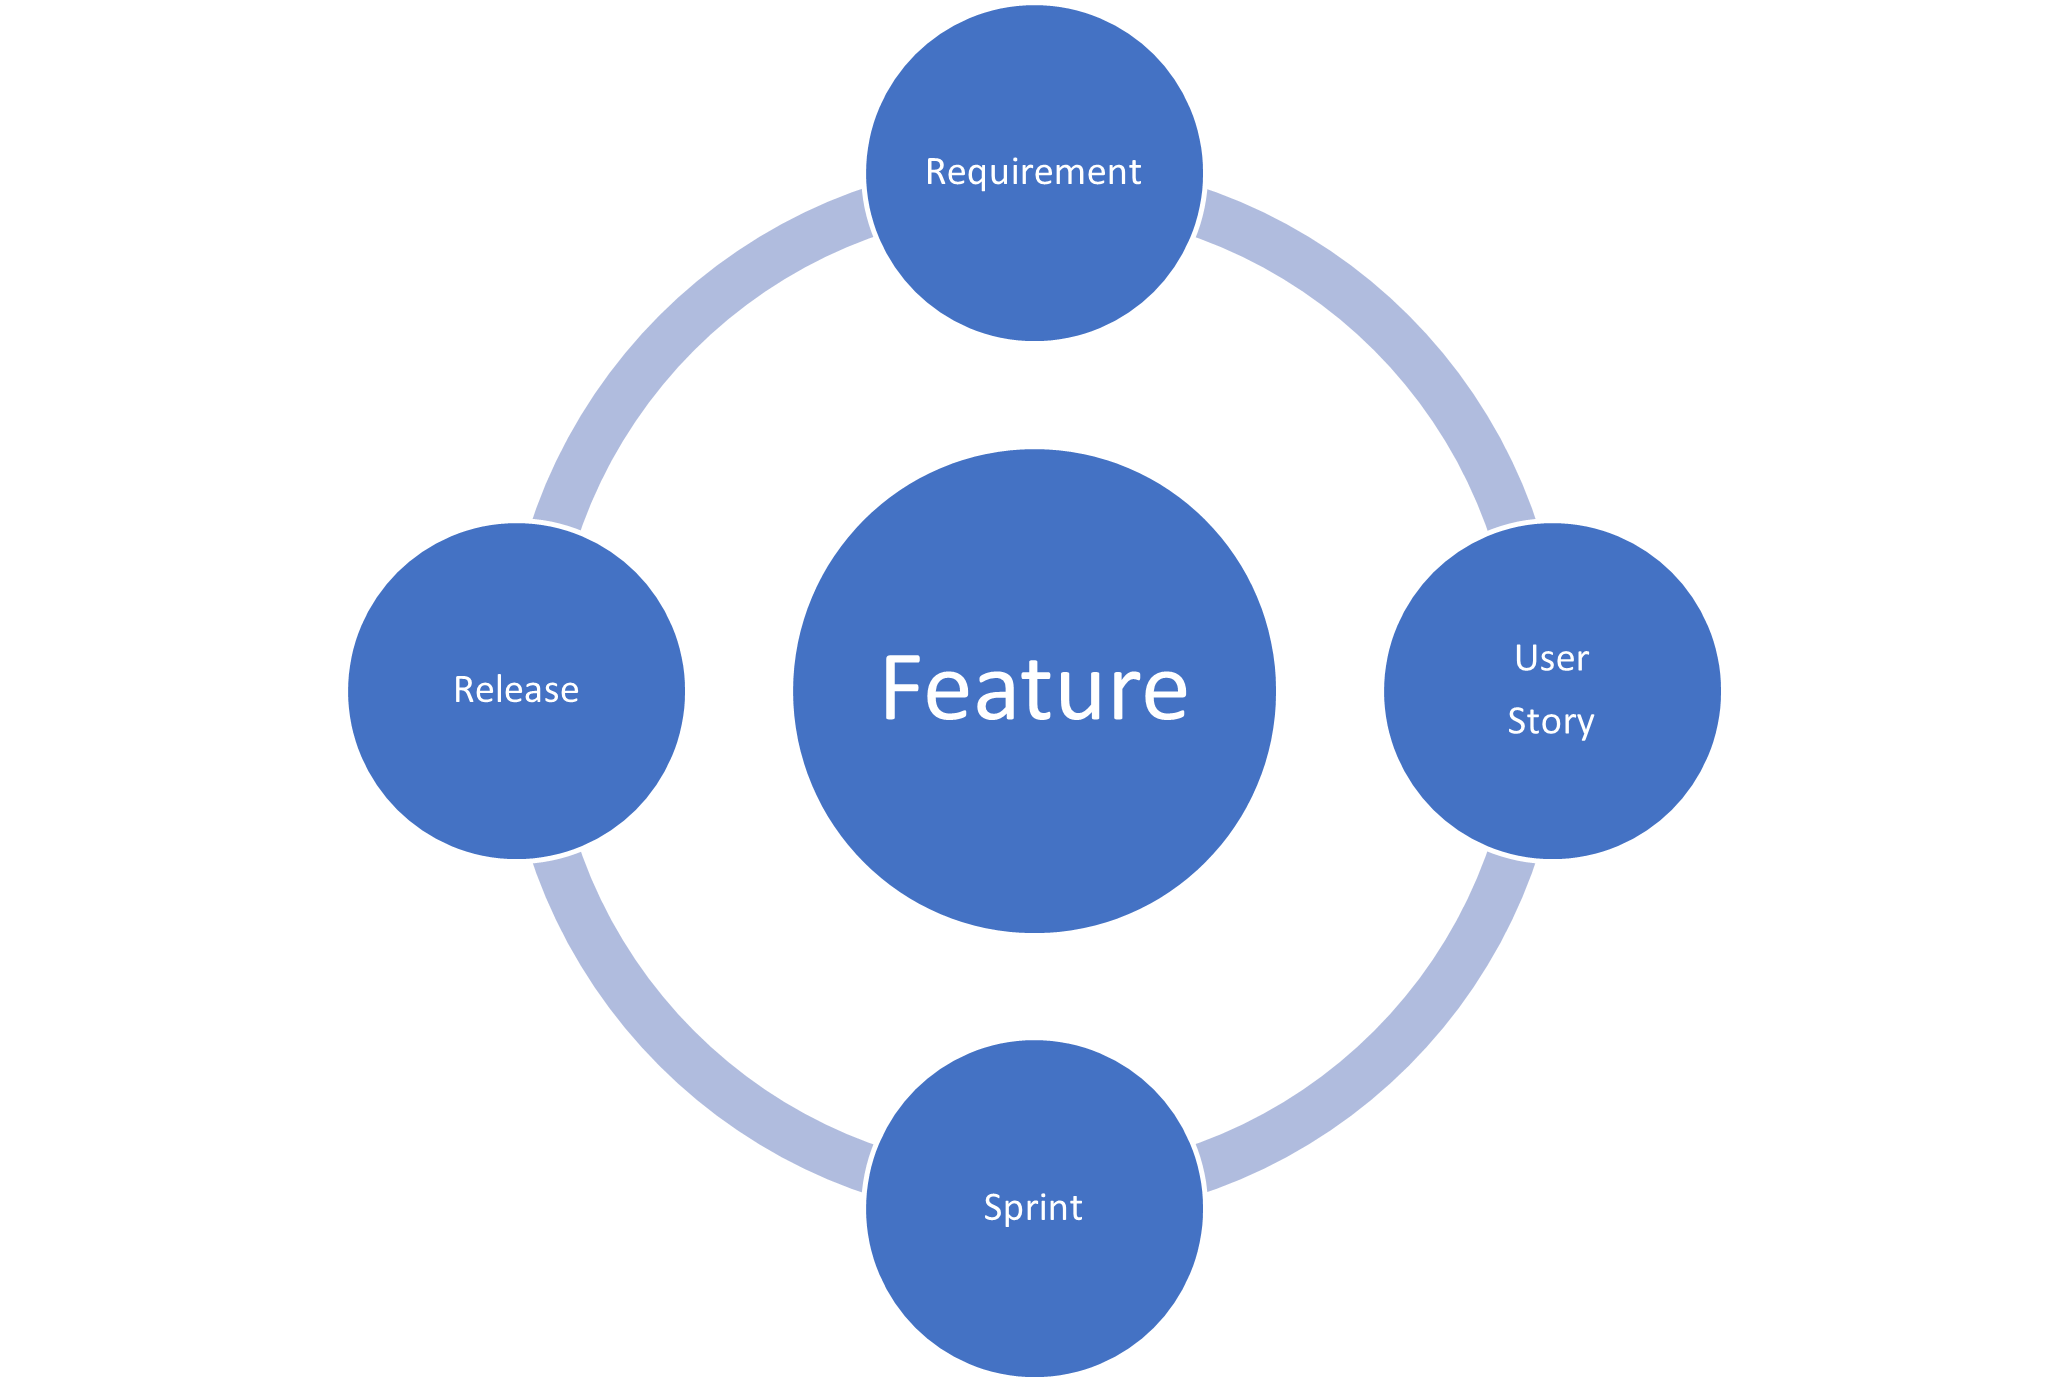
Now we are starting to build up a comprehensive set of product features that will meet the requirements and these will have been validated with SMEs; so, we are in a good position to elaborate the details of the user stories that will be needed to change existing features and add new features to the product.

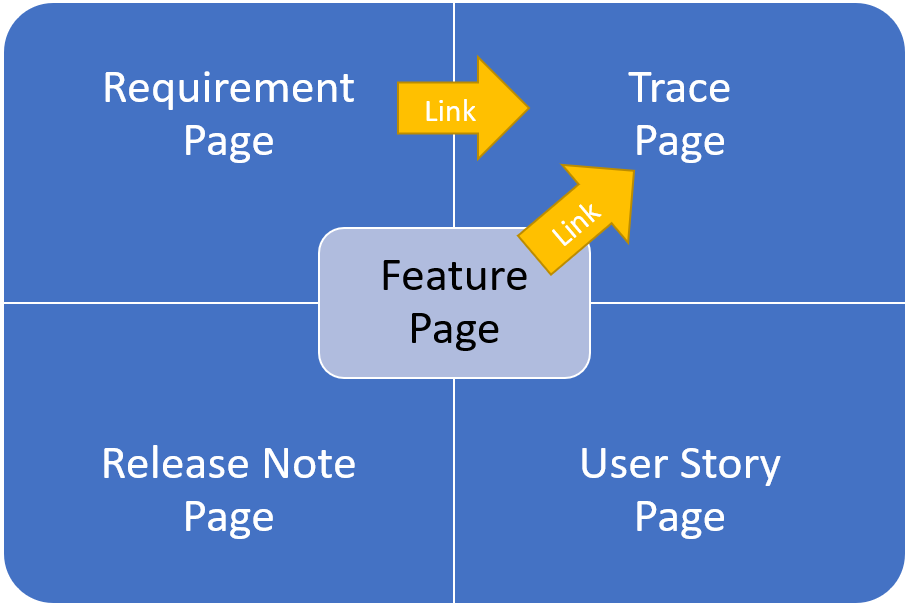
Tip – Link Requirements

Linking requirements to use cases is a useful way to file the information, not all requirements will need separate use cases only those where confirmation is needed to better understand the underlying business need which can sometimes be obscured by a badly written requirement.


Conclusion

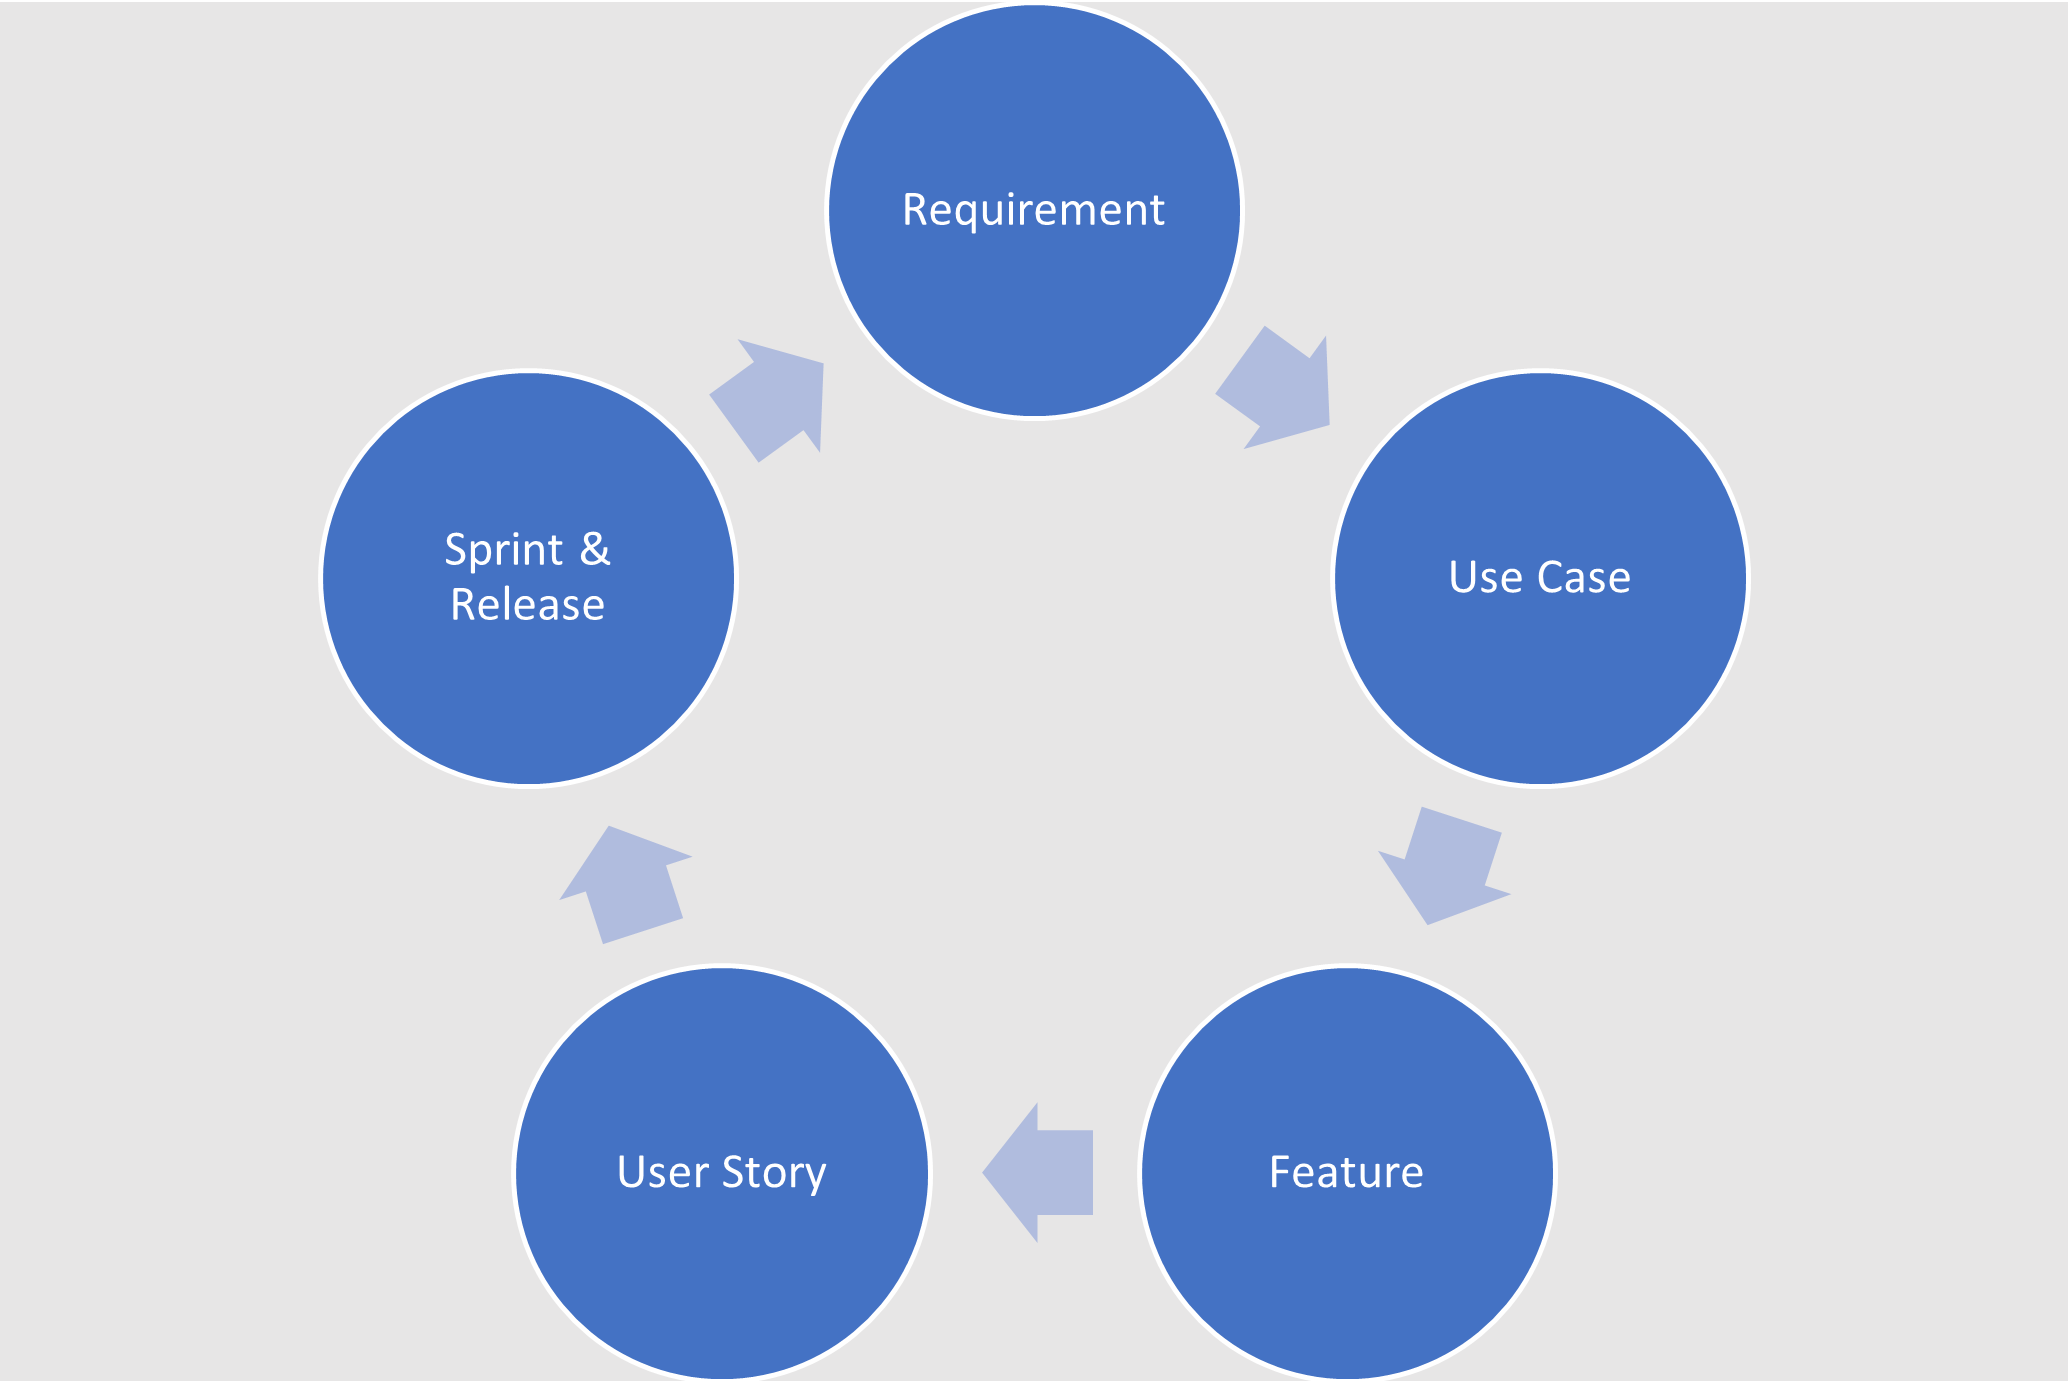
The use case is the glue that binds the product features and stories together into a comprehensive system that will meet the stated requirements; the user stories allow this requirement to be broken down into manageable features for delivery by agile sprint development teams.

Agile Requirements Management Part 3 – A Collaborative Data Model

In this article I want to explore how to integrate data requirements with product features and user stories; the result is some very useful traceability to where a particular data entity or attribute is being used across a product.

A conceptual data model is an integral part of the analysis process, it allows the analyst to better understand the overall requirement and how the various elements are related to each other. This enables the correct features to be identified to support the requirement and may well identify some gaps in the requirement where data is not being setup ready for the next process to collect and consume.

The data model will then naturally provide the start point for the database design and will ensure that all the features and associated user stories are all be singing from the same hymn sheet. The sprint teams will benefit from a shared understanding of the data that they are being tasked to manage.


The Tool


Initially my thoughts were that a true data modelling tool with a built-in dictionary were needed, having used these kinds of tools in previous projects.

As the choice of tool was limited, we explored whether Confluence might provide a useful stand in solution; we were already using Confluence to manage the requirements and user stories, so this looked like a natural plug-in to our existing Confluence wiki.


Develop the Model

For convenience, a separate data modelling space was setup to hold all the diagrams and page content for the data model which could then be referenced across the Wiki pages to add understanding to the requirements.

The Confluence service we were using came with the Gliffy diagramming tool; this allowed us to create entity relationship diagrams (class models).  As the model was quite large, it was split into distinct data domains, this is easily managed by creating a view (diagram) for each domain.


Create Data Entities

In order to make the Confluence data model more like a true tool-based model, hyperlinks were included in the diagrams attached to drawing objects like an entity or domain; click on a high-level domain in the diagram view and the attached URL will then launch the associated domain view diagram, allowing a drill down to the detailed entity level.


Once down at the entity level, the next step is to setup each entity as a separate Confluence page; the last click at the entity level will arrive on a page that can be enriched with content for collaboration with the team.

Each data entity is loaded as a separate Confluence page; this approach also means that you can link to individual features and user stories using the page URL but also provides a ready-made folder to hold related content like data attributes.


Advertisement


Tip – Setup Data Domains

Setup a domain hierarchy in Confluence to file the entities appropriately, this will facilitate creating views of subsets of the model using the ancestor filter option in the reporting macro.


Trace Data Requirements


Now we have the model available in Confluence with each entity loaded as a separate page the data requirement can be integrated into the requirements wiki traced to the product features and included in user stories as a URL link to the relevant pages.


Tip – Identify Data Usage

The more comprehensive the application of this approach the greater value will be realised; if you go down to attribute pages then it will be possible to drill down to where data items are being processed.


Setup Data Attributes


Defining the data attributes is a useful activity to ensure that the system will include all the required data and manage it in a consistent manner.

Data attributes can be simple and self-explanatory items, the name alone can be enough to understand the purpose intended; however, it is often the case that the meaning can be very subtle and having an attribute page available to record an explanation is very useful.

Data attributes are setup as child pages to the parent data entity page to provide a natural filing plan but they can be referenced anywhere and shared in conversations with team members to clarify their purpose and ensure consistent data usage.

Tip – Attribute Names

Page names must be unique within a Confluence space, so it is a good idea to fully qualify the page name with the entity name as a prefix to avoid any duplication issues across different entities.


Integrate Data Requirements


This is where the data model becomes integrated and collaborative, a big advantage over separate modelling tools.

Whenever a user story is referencing a data requirement then the URL to the entity page can be plugged into the story as part of the narrative. For example, the narrative “Create a Customer record for the order received” can replace the plain text “customer” with a URL to the customer entity page instead. Once this approach is adopted the data usage can easily be discovered; starting from the entity page under the page information details all the incoming and outgoing links to the page will be shown, revealing where the data is used and with a single click the reader can jump straight to the story page.

Tip – Business Rules

Including attribute links in business rules will ensure the sprint teams are looking in the right place when implementing the user stories. For example, check the “order delivery date” has not be missed; otherwise, an alert must be triggered to follow-up on the delay with the customer.


Conclusion

Confluence may not appear to be the obvious tool to consider for managing data requirements; however, the fact that it can be integrated with the product features and user stories is quite powerful. The ability to see where individual data attributes are being used facilitates impact analysis and support; the business rules can be expressed precisely and facilitate the development of an integrated system.

It will require careful management to ensure changes can flow through the process and can easily be identified but this is true of all these kinds of tools.

Last but not least is a the record of feedback and comments added to the pages in Confluence, explaining why certain decisions were made and how data attributes introduced are being used by the system. This record will be invaluable for assurance and support queries to understand the how and why a piece of data is being used by the system.


Agile Requirements Management: The Art of Collaboration

In this article I want to expand on how to manage requirements, particularly focused on delivering user stories to development teams ready for sprint refinement sessions. The starting line is a set of requirements that have already been formulated and issued, for example as part of a tendering process for a new service or upgrade to an existing service.

The Tool

We adopted the Confluence wiki collaboration tool as it is well integrated with the preferred Jira sprint management tool from the same supplier, Atlassian. The objective was to build a knowledge base for the product that is sharable and retains useful insights posted by stakeholders and the project team; this will facilitate future enhancements but also be invaluable in answering the inevitable question – “Why did we do that?”


The start point is to load each requirement as a separate Confluence page; this approach means that you can link to individual requirements using the page URL but also provides a ready-made folder to hold related content. This has an initial overhead in loading the requirement pages but provides lots of advantages downstream, so its well worth the effort; we managed to load in excess of 800 requirements for one contract.

You may be thinking why not use a table embedded in Confluence page to hold all the requirements but this is hard to manage and you cannot easily address each requirement.


Tip – Setup Subject Areas

Setup a subject area hierarchy in Confluence and file requirements appropriately, this will facilitate creating views of subsets of requirements using the ancestor filter option in the reporting macro.


Trace Requirements

Add at least one trace for each requirement, one for each feature impacted by the change or new feature that will need to be developed.

In parallel, features can be added to the wiki, again as separate pages – one per feature; it does not matter that the feature page has little content at this stage, the aim is to have a place holder that is ready to receive content and will allow everything to start to become joined up.

If the feature is already in place, then you can just plug in the link in the trace page and you are ready to move forward.

Tip – Identify Impacts

Each impact will need a separate trace, however traces can be grouped together for delivery as a single story. Trace pages are filed as child pages to the parent requirement, so everything is kept together.


Advertisement


Validate the Solution

Validate the proposed feature changes with the Product Owner and SME’s, this is achieved using workshops and reviewing the trace page content and adding clarifications to pages during the sessions, so everything is up to date and immediately available to the team.

The sort of points to consider are – does the Product Owner agree with the introduction of a new feature or a change to an existing feature, are there better options to consider such as buying a third part add-in; these kinds of questions need to be answered before moving into a more detailed analysis of the requirements.


Tip – Agree Solution

Stories to be written are agreed before they are actually written to reduce the risk of wasted effort.

At this stage a story title may be added as a reminder to the author of what needs to be covered, this will then be replaced with the URL to the story page once it has been created.


The Collaboration Solution

I’m guessing by now people will be wondering how on earth will all those requirement, feature and trace pages be manageable once they have been loaded into Confluence.

This is where you can use a feature of Confluence known as the Decision macro, at first glance it does not appear to offer much – the ability to create logs of decisions to manage, so each decision is a separate page but you get a consolidated view that pulls them together – a bit like a spreadsheet.

The next step is to realise that requirements, traces and features are really just decisions – a decision to request a feature in a product, to deliver a product feature using an agile user story etc. The nice thing about decision pages is that they can be customised, we devised templates for each type of decision – requirement, trace, feature etc. So now we have logs of all our requirements, traces and features but each can be managed separately as a Confluence wiki page.


Tip – Setup Filters

Logs can become quite large, so the solution we adopted was to use the requirement subject areas to create filtered views that only included traces for a particular branch.


Create User Stories

Write the user story content to fulfil the requirements including the detailed process flows and business rules.

As stories may relate to multiple requirements they are filed in a separate branch and not under a specific requirement, they are still linked back to the requirement via the trace pages.


Tip – Story Content

Add as little or as much content to ensure that the requirement will be met including process flows and business rules.

This is more effective than trying to develop business rules once sprints have started.

User stories may be grouped together where a lot of stories need to be managed.


Validate User Stories

Check the proposed changes with SME’s, are the business rules correct, you may include mock-ups of user interfaces to facilitate the process and give context to the proposed changes.


Tip – Workshops

Workshops can be used to present user stories prior to development to mitigate the risk of the wrong solution being delivered.


Conclusion

Finally, we created a Jira ticket for each story and link it to the Confluence story page; Confluence is a better tool for content than Jira but they are both only one click away from each other. Click on the Jira link in the story page and you are taken to the Jira ticket and similarly you can navigate back from Jira to the Confluence story.

In fact, you can navigate right back to the requirement(s) behind each story, all the links will be setup and ready to use with no additional effort.

Don’t forget to update your feature pages with the story releases – cut and paste job mainly; otherwise, you will need to read through all the stories for a given feature, in chronological sequence, just to find out what it is currently meant to be doing in production!